Browsing all posts tagged woodworking

Adventures in Milling

Jul 16, 2024

Last month I was fortunate enough to purchase a Dewalt 735x thickness planer. My goal with this addition to the shop was two-fold:

  1. Make it possible to mill my own lumber from rough stock
  2. Easily thickness the lumber I have

In all my previous woodworking projects, I've used either S4S (surfaced-four-sides) or S2S (surfaced-two-sides) lumber; that is, all (or most) of the milling work has already been done for you. Buying S4S material is the most expensive way to purchase lumber. The cheapest way to purchase it is in the rough; the boards have been cut by the sawmill, but none of the faces are clean, square, or parallel. It's up to you, the woodworker, to fix that.

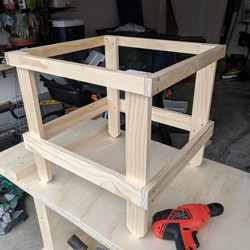
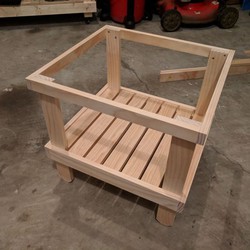
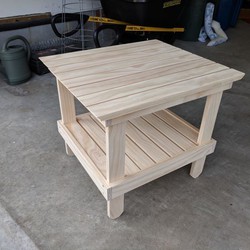
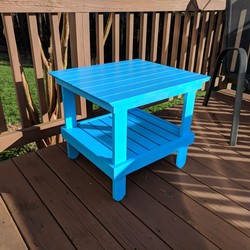
As an introductory step into the world of milling, I purchased enough rough Sapele lumber to build two patio side-tables. Each table is a modified version of the California Casual Patio Table that I made over five years ago, which is now all but falling apart.

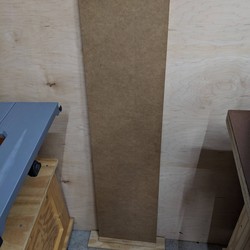
Since I don't have a jointer, I built myself a jointing sled for the planer. It's an incredibly simple jig: a sheet of MDF with a small cleat glued to one end. Just stabilize the lumber that you want to joint on the sled with shims, then send it through the planer, taking off just a hair at a time. Eventually, the entire surface will be planed and the face will be both flat and parallel to the sled's reference surface (which is also flat). The lumber can then be sent through the planer to get the opposite face parallel (and flat). Combine this with an edge-jointing jig, which I built a while back for my table saw, and I can now convert rough lumber to S4S!

As with most things, there has been a learning curve. I've first learned that milling is typically at least a two-day process. The first step is to mill the lumber to rough thickness (7/8", for example, if the final thickness is to be 3/4"), and then let it rest for a night or two. The next milling process will take it to final thickness, and remove any warping that occurred after the first round. Rushing the process will yield warped lumber, which is a problem I ran into with the first table. Happily, the warpage was minimal, so I was able to recover.

I've also learned that milling creates a ton of sawdust. I'm amazed at how much sawdust results from the thickness planer; bags and bags of it!

All in all, this has been an enjoyable area of woodworking to learn and explore. The results speak for themselves, I think; the lumber I've milled for these side tables has been among the best quality I've worked with so far. It's a joy to construct something and have it come together so neatly. I look forward to using these skills in upcoming projects.
I learned this morning that The New Yankee Workshop is now posting full episodes of the show to YouTube! The woodworker in me is freaking out just a little bit at this news; there are so many good episodes of this classic show! Below is a small message from Russell Morash, the producer of the show (and the owner of the shop where they shot the show). It's a neat walk down memory lane.

Trimming Doors

Apr 24, 2022

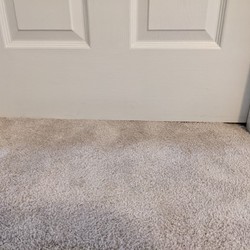
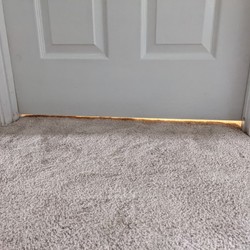
Earlier this week we had new carpets installed in our house. The new carpet is much thicker than the old one, and is remarkably soft underfoot. Unfortunately, this new thickness resulted in a number of doors dragging. Not only did this make opening and closing some of the doors difficult, but it wasn't doing any favors for our heating and air conditioning units. It turns out that door gaps are fairly important from an HVAC perspective.

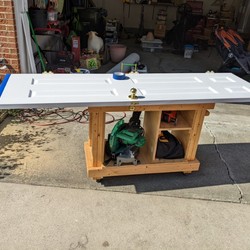
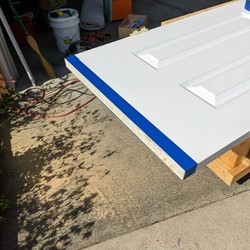
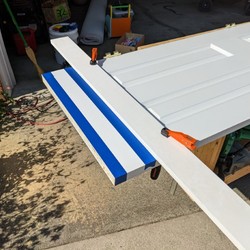
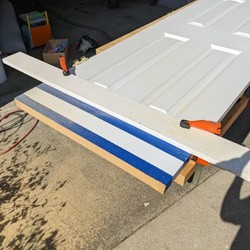
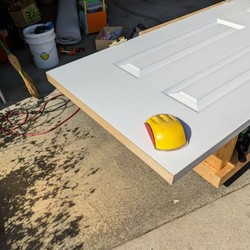
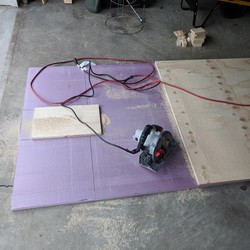
I decided to try my hand at trimming these doors myself, given that I have the tools. It turned out that this process was fairly simple, and I got great results. Here are some photos showing how I went about doing this:

There were a few things I learned through the process that I wish I had known before I started:

  • The strip of melamine I used was too narrow. A few times, my clamps got in the way and resulted in a bulge or two that I had to sand out.
  • Using a strip of painter's tape along the straightedge is key. I made the mistake of omitting this on the first door I did, and the saw's foot marred the door.
  • I tried using a gap of only 3/8 of an inch on one door, but that ended up being too short. A 1/2 inch gap is much better.

This was a fairly easy project to do, though it was somewhat time consuming. It's nice, however, to have it completed. And I did it myself!

Simplicity in Design

Jan 16, 2020

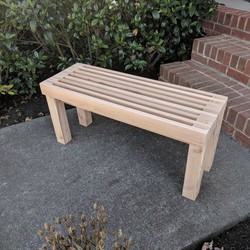
One of the best things about picking up woodworking as a hobby has been the learning process. Every project has taught me a number of new things, whether it's a new tool, technique, or construction method. My latest project was a kitchen bench which I designed myself using Sketchup Make 2017. One of the lessons this project taught me was not to over-complicate a design.

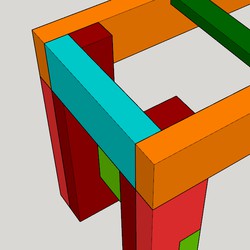
The following images show two designs for the leg assembly for the bench. The first design is what I built; the second is a simplified variant.

The first design made attaching the bench top more difficult than it should have been at the ends. It also complicated the finishing process, and resulted in the purchase of additional material (4/4 poplar, in this case, rather than the 8/4 I used elsewhere in the frame). I only discovered this after building the first design, of course, but that's all part of the learning process. My intention with design 1 was to improve the look and feel of the ends of the frame, but the irony is that this portion is nearly invisible with the top in place.

As I design future projects, I now know to take issues like these into account.

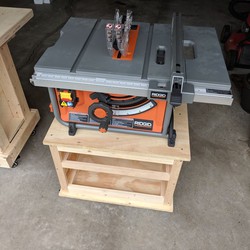
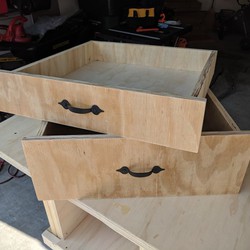
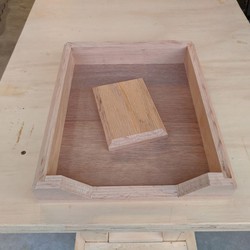
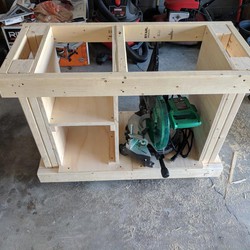
These days I find myself thinking about woodworking more than just about anything else; it's my new favorite thing! Here are a few of the projects I've completed over the past few months, in the order that I built them (the final project shown is not fully completed; it still needs sanding and finishing):

The table saw cart has been a great addition to my "shop" by giving me lots of storage for my tools (which are now nicely organized). I love having a new hobby that's in a completely different direction from my day to day desk job. Programming doesn't interest me like it once did, and having an outlet for creative energy has been quite cathartic.

Garden Trellis

Apr 19, 2019

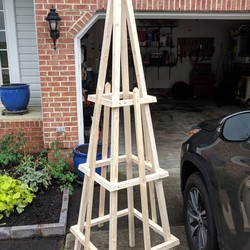
My most recent woodworking project was also the toughest one to assemble. This time around, I built a garden trellis to support the beans and peas my wife planted. Here's a picture (click for a view of the whole thing):

The legs and horizontal frames are all cut with compound miters at 7 degrees. This made assembly difficult, as there weren't any "flat" surfaces on which I could clamp things together. I purchased a cheap pneumatic nail gun which helped tremendously with this, but it was still a challenge. In the end, I think the final product looks pretty nice. Woodworking is a real fun hobby!

I recently completed the first project of the online woodworking course I'm taking. Building this one was a lot of fun, and it was the first project I've put finish on (paint, in this case). My wife and I chose a bright blue color for the table, as it goes nicely with our orange-ish deck. This will be real useful to have on our deck when we grill or just sit outside to enjoy nice weather.

I've been interested in woodworking since I was little. As a kid, Saturday afternoons often involved watching This Old House, The New Yankee Workshop, and The Woodwright's Shop. Late last year, I decided a change was needed in my extra-curricular activities. Many of my existing hobbies were becoming less interesting to me, and I wanted a new outlet for my energy. Woodworking is the hobby I chose to pursue.

During the months of December and January, I voraciously consumed woodworking videos of all types on YouTube. One particular channel stuck out: Steve Ramsey's Woodworking for Mere Mortals. I really liked Steve's down to earth presentation, and his attitude that anyone can do woodworking with basic tools.

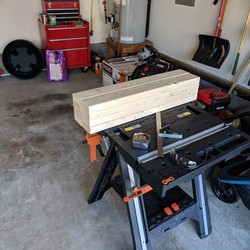
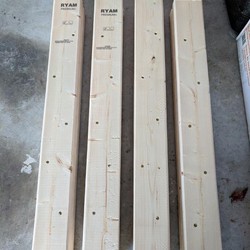
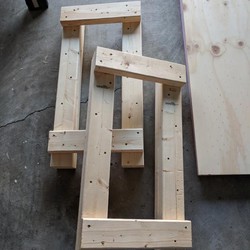
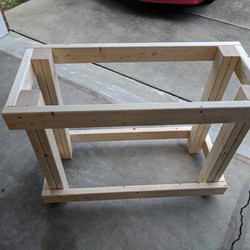
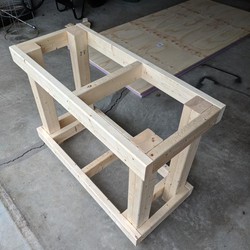
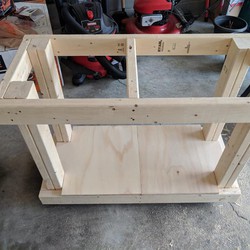
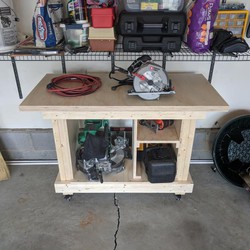
In January, I signed up for his online course The Weekend Woodworker. The course contains six projects with a bonus workbench project to build first. Over the past week (I haven't been able to get to it until now due to lousy weather), I built the workbench project. Pictures of the build process are at the bottom of this post.

Years ago, while watching a public television show about artists in North Carolina, a metalwork artist said something about the learning process that really stuck with me. He said that prior to becoming a metalworker, the only difference between metalwork artists and himself was that metalwork artists were actually doing it. That's the attitude I'm taking this year with woodworking; why think about it when you can just do it, learning something in the process? I'm looking forward to tackling the projects in the course, and I've already got plenty of ideas on other projects to build. Stay tuned for more!