I know that in the world of photography, post-processing is a very personal topic. Every photographer has a different workflow, especially when it comes time to process their photos. Mine has always been pretty haphazard, and for a long time I haven't been as happy with my photos as I would like.
I shoot RAW images, which ultimately gives me a lot more creative control over the end product. Maximizing those possibilities, however, requires effort that I frankly haven't been putting in. I've recently decided to change that, and I'm already seeing improved results. One of my recent photo albums, focusing on garden macro images, is the first album into which I put extra effort into the post-processing step. I'm really happy with every single photo in that album.
Over the past few weeks, I've been watching a lot of online tutorials on post-processing workflows, tips, and tricks. Anthony Morganti's YouTube channel has been particularly helpful to me (he has lots of great pointers).
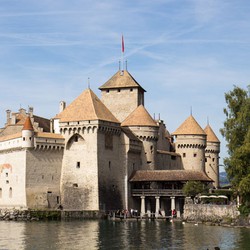
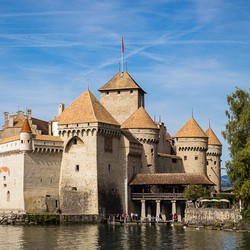
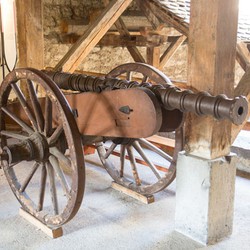
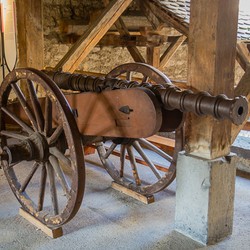
I've posted a few photos below to show the before and after effects of what I've learned. All of the "before" shots are photos that are posted in my public albums (all three of these shots come from the Lausanne, Switzerland photo album). If you happen to be reading this in an RSS reader, click through to the site for a better before/after experience where the images are stacked.
The first photo is a shot of a castle we visited. My "before" shot lacked detail, was fairly flat, and was generally overexposed. The "after" shot uses improved color, is a better crop (removing a stray head from the bottom of the shot), and has more detail.
This second photo was taken in the castle above. Again, there was missing detail, highlights were really overblown, and there was a general lack of contrast.
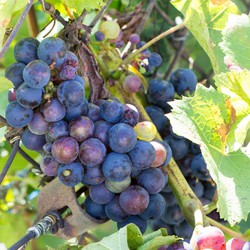
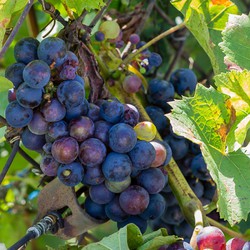
One final example originally suffered from overexposure and a lack of contrast. Note how so much more detail shows up in the leaves of the grapevine.
I'm looking forward to using my new-found skills in future photo albums.
